Point light sources can make a building’s facade absolutely pop. These tiny LED dots are small but pack a serious punch, whether you’re lighting up a towering city skyscraper or adding some pizzazz to a mom-and-pop shopfront. Here’s the kicker: you’ve got to get the spacing and density just right. Skimp on lights, and your display looks like a sad, patchy blanket. Go overboard, and you’re throwing cash at a light show that’s way too intense. This guide is for architects, lighting designers, and project managers who want to master the art of setting up point light sources on a building. We’re diving in with hands-on tips, some real-world experience, and a focus on making your project the talk of the town.
Why Spacing and Density Matter for Point Light Sources
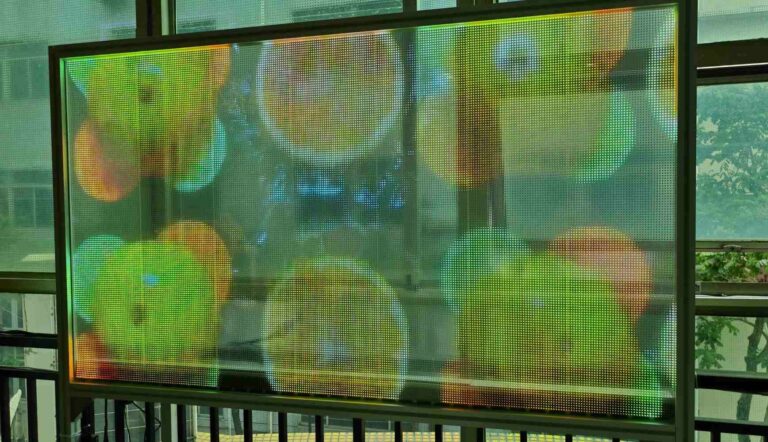
Point light sources aren’t just about illumination. They’re about storytelling. They can highlight a building’s unique lines, scream your brand’s identity, or set a festive mood. But here’s the deal—they only shine if you space them properly. Good spacing keeps the light even, avoids a messy look, and saves on electricity. Density, on the other hand, decides how bold or detailed your display is. Mess it up, and your facade might look like a half-finished holiday setup or a neon sign that’s trying too hard.
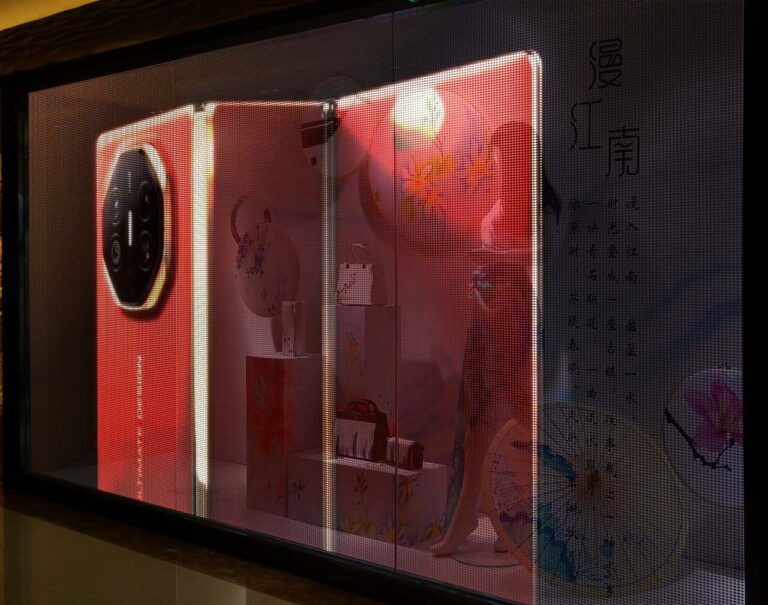
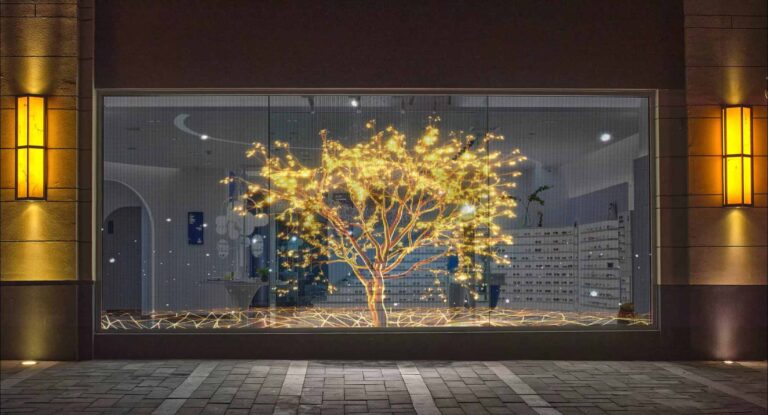
Big projects, like glass curtain walls or cultural landmarks, demand precision. Picture the 2008 Beijing Olympics, where point light sources turned the “China Seal” into a glowing masterpiece. That kind of wow factor? It came from nailing the spacing and density. Without that, even the best lights can fall flat.
Key Factors in Calculating Spacing and Density
Before you grab a calculator, you need to know what’s shaping your plan. Every project has its own quirks, so here’s what to keep in mind.
1. Building Size and Surface Area
Your facade’s size is where it all begins. A massive glass wall calls for a different approach than a small retail window. Grab a tape measure (or a laser, if you’re fancy) and get the height and width. For example, a facade that’s 100 meters wide and 50 meters tall gives you 5,000 square meters. That’s your playground for figuring out how many lights you need.
2. Viewing Distance
How far away will folks be when they see your lights? If it’s pedestrians wandering by 10 meters away, you’ll want tight spacing. If it’s drivers speeding past from 200 meters, you can spread things out a bit. The farther the crowd, the more you can ease up on spacing without losing the effect.
3. Desired Visual Effect
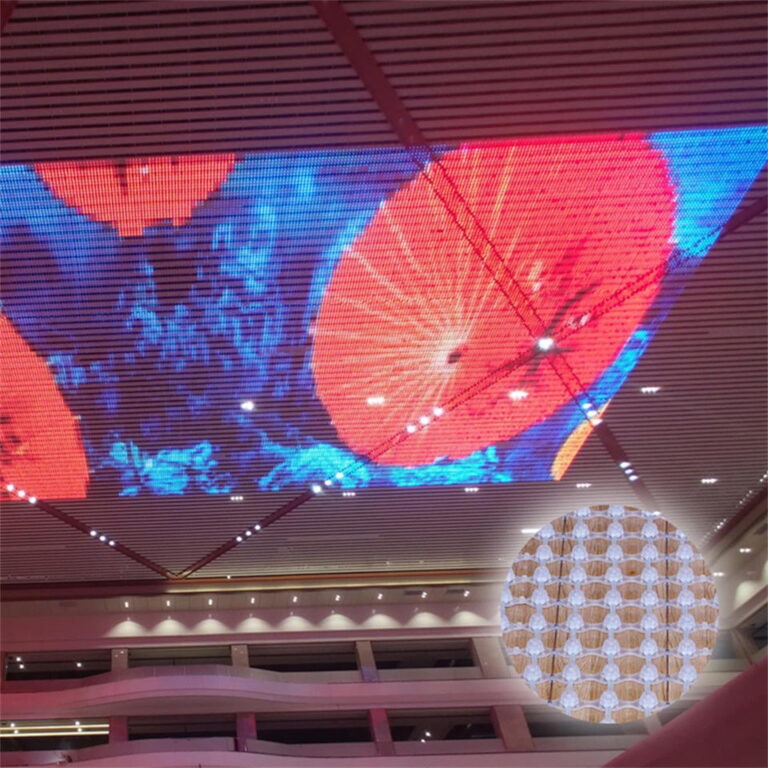
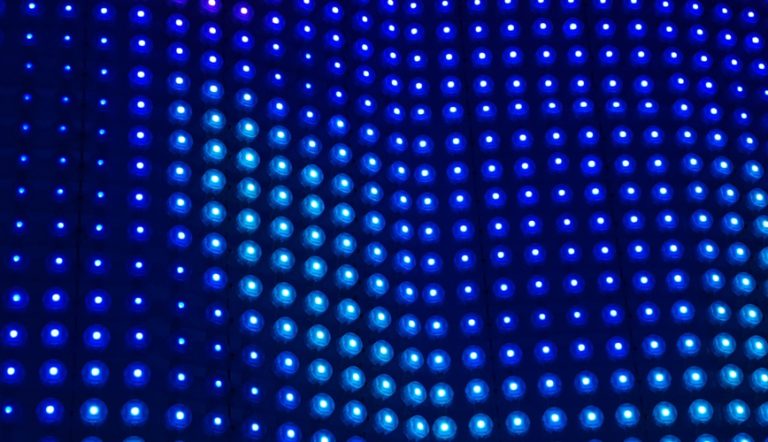
What’s the vibe you’re chasing? A soft, cozy glow for ambiance? Or a razor-sharp video display? If you’re showing off text or intricate designs, you’ll need high density—think 16×16 or 12×12 pixels per square meter. For simple patterns or mood lighting, 8×8 or 6×6 can get the job done.
4. Brightness Needs
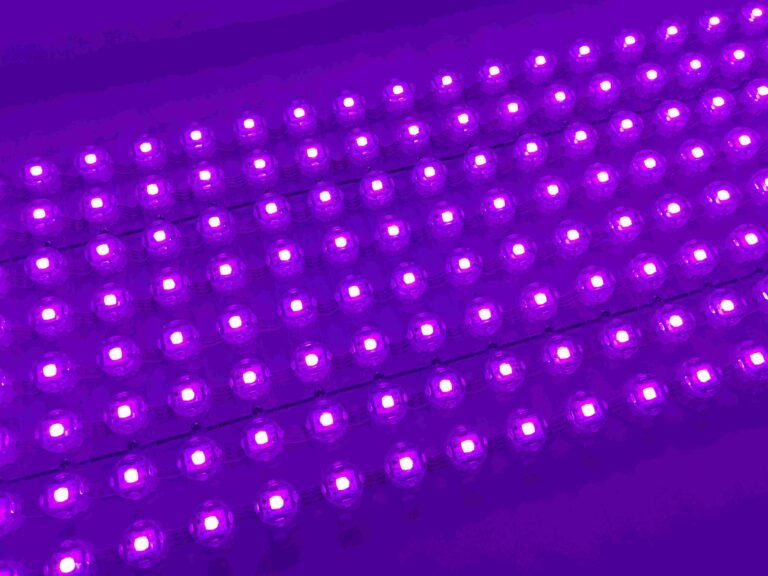
Point light sources can hit 6,000 cd/m², which is seriously bright. But the right brightness depends on where you are. City spots with buzzing streetlights need denser, brighter setups to stand out. Quiet rural areas? You can dial it back and still make an impact.
5. Budget and Power Limits
More lights mean bigger costs—both when you buy them and when the power bill arrives. You’ve got to strike a balance between looking amazing and keeping things realistic. Low-voltage systems, like DC05/12V, and energy-efficient LEDs let you save some bucks while still delivering a killer look.
Step-by-Step Guide to Calculating Spacing and Density
Let’s roll up our sleeves. Here’s how you figure out the perfect spacing and density for point light sources on a building. We’ll use a real-world example to keep it crystal clear.
Step 1: Pin Down Your Project Specs
Imagine you’re lighting up a glass curtain wall for a shopping mall. It’s 20 meters wide and 10 meters tall, so you’ve got 200 square meters to work with. You want a lively display with some basic animations, visible from 50 meters away. Your budget’s decent, but you’re not swimming in cash. You’re using high-quality LED point light sources that pump out 6,000 cd/m² of brightness.
Step 2: Pick Your Pixel Density
Pixel density is how many lights you squeeze into a square meter. For animations, a 12×12 density (that’s 144 lights per square meter) is a great starting point. For our 200-square-meter facade, that works out to:
[ 200 , \text{m}^2 \times 144 , \text{pixels/m}^2 = 28,800 , \text{point light sources} ]
Sounds like a ton, right? Don’t sweat it. We’ll tweak things as we go.
Step 3: Sort Out Spacing Based on Viewing Distance
At 50 meters, the human eye can’t tell individual lights apart if they’re closer than 8-10 cm. To figure out spacing, use this formula:
[ \text{Spacing (m)} = \frac{1}{\sqrt{\text{Density (pixels/m}^2\text{)}}} ]
For a 12×12 density:
[ \text{Spacing} = \frac{1}{\sqrt{144}} = \frac{1}{12} \approx 0.083 , \text{m} , (8.3 , \text{cm}) ]
This spacing makes the lights blend into a smooth image from 50 meters away. If your audience is closer, say 20 meters, you’d want tighter spacing—maybe 6-7 cm.
Step 4: Fine-Tune for Effect and Budget
Animations need solid resolution, but if your wallet’s feeling light, you could drop to an 8×8 density (64 lights per square meter). That cuts your total to:
[ 200 , \text{m}^2 \times 64 , \text{pixels/m}^2 = 12,800 , \text{point light sources} ]
Spacing would be:
[ \text{Spacing} = \frac{1}{\sqrt{64}} = \frac{1}{8} = 0.125 , \text{m} , (12.5 , \text{cm}) ]
This setup still looks sharp from 50 meters and saves you some cash. If you’re going for crisp graphics, though, stick with the higher density.
Step 5: Check Your Installation Setup
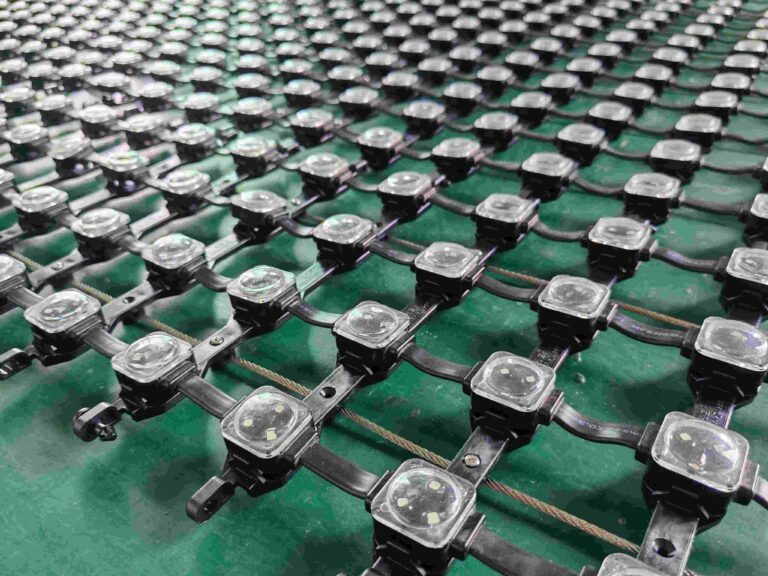
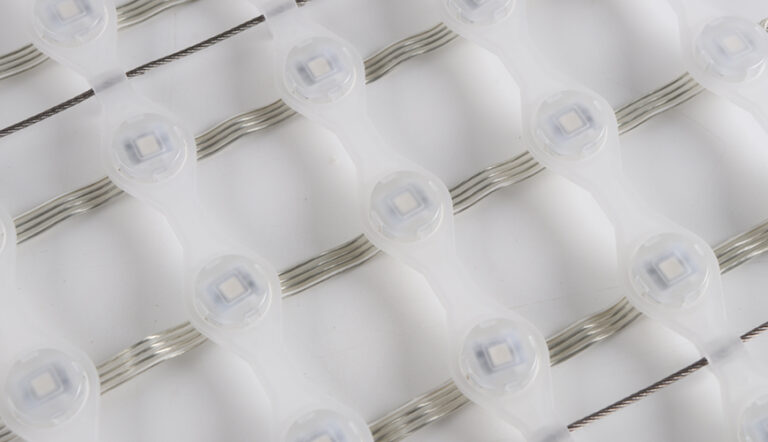
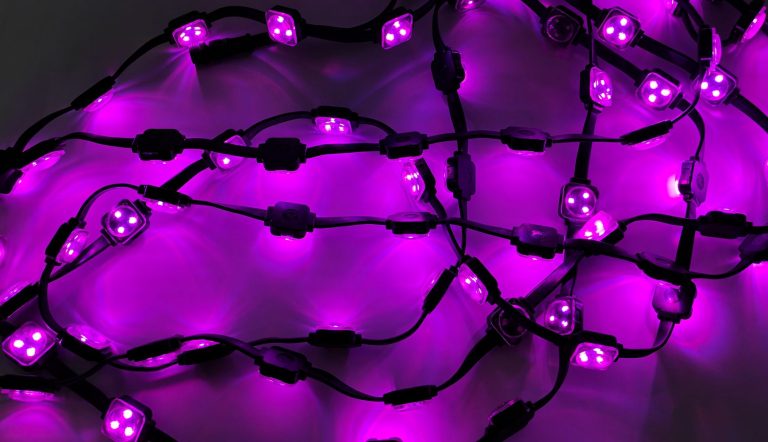
Point light sources usually sit on bases or steel wires, with each node handling up to 20 kg of tension. For a glass facade, make sure the surface can handle the weight—though these lights are super light, often under 2 mm thick. Double-check if screw-fixed bases or adhesive mounting works better for your project.
Step 6: Test It First
Before you go all-in, set up a 1-square-meter test patch. Check if the lights look too spread out or too intense. This quick step can save you from pricey mistakes down the road.
Common Mistakes to Steer Clear Of
Here’s where people tend to trip up. Avoid these to keep your project on track:
Packing in Too Many Lights: Overloading your facade can blind viewers and send your energy costs through the roof. Stick to the density you calculated.
Forgetting Viewing Distance: If your spacing’s too wide for close-up viewers, the display will look pixelated, like a retro arcade game.
Skipping Maintenance Plans: IP67-rated point light sources are tough, but you’ll still need to clean or swap them out occasionally, especially in nasty weather.
Ignoring Control Systems: Make sure your lights work with your setup, like WIFI remote or cluster control, so everything runs like a dream.
Real-World Example: A Shenzhen Mall Facade
Let’s set the scene. A mall in downtown Shenzhen wants to draw evening crowds with a dazzling light show. The facade is 30 meters wide and 15 meters tall—that’s 450 square meters. The team picks a 10×10 density (100 lights per square meter) for a 100-meter viewing distance, which means:
[ 450 , \text{m}^2 \times 100 , \text{pixels/m}^2 = 45,000 , \text{point light sources} ]
Spacing works out to:
[ \text{Spacing} = \frac{1}{\sqrt{100}} = 0.1 , \text{m} , (10 , \text{cm}) ]
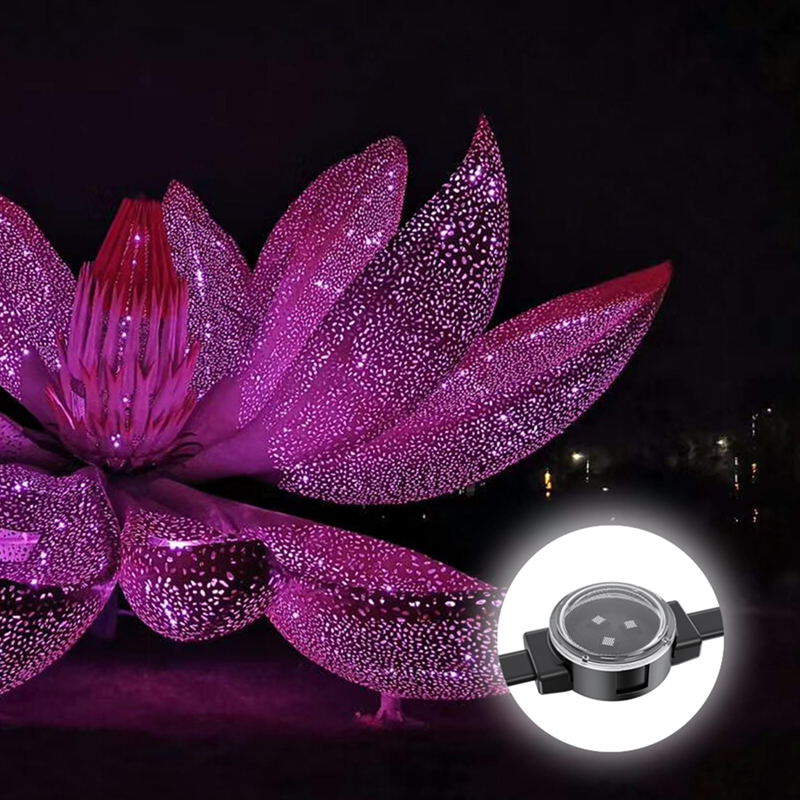
They use point light sources with top-notch LED chips—bright, stable, and low on light decay—sealed with AB synthetic resin for IP67 protection. The result? A vibrant, budget-friendly display that stops people in their tracks.
XinHe Optoelectronics: Your Go-To Point Light Source Supplier
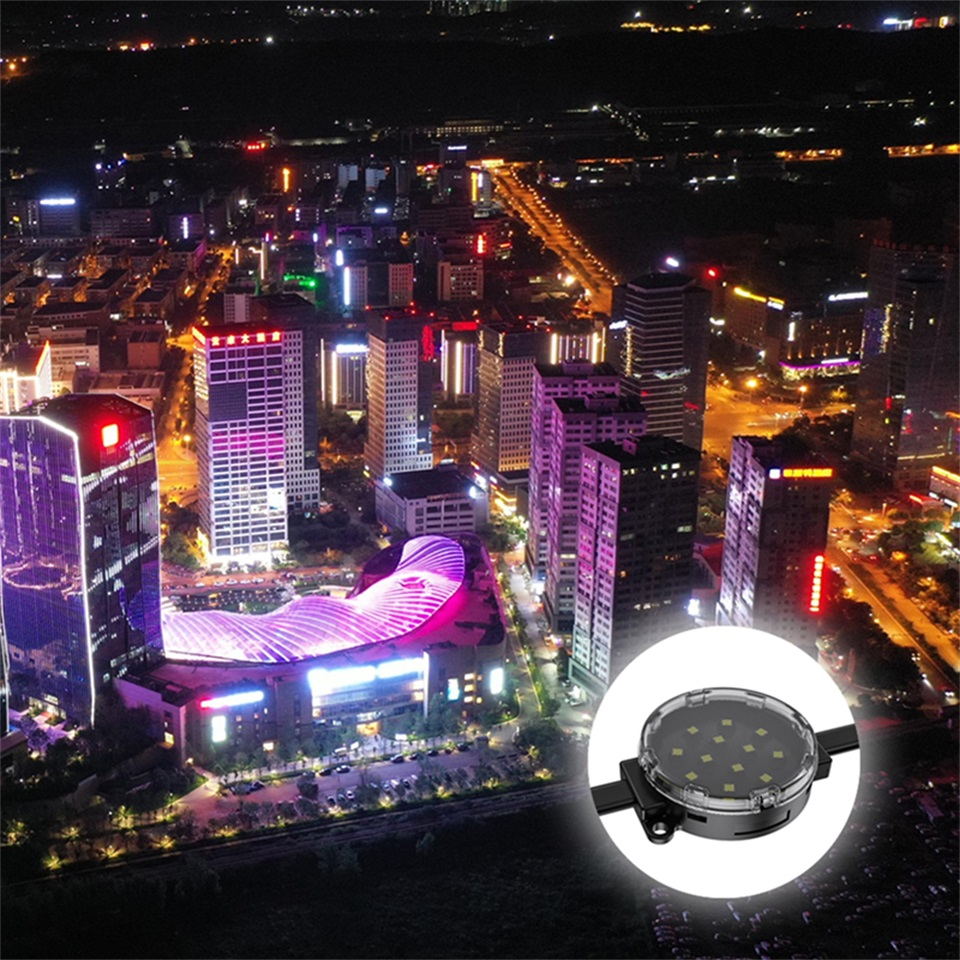
When you’re looking for point light sources you can trust, Shenzhen XinHe Optoelectronics Co., Ltd. is the real deal. Since 2004, they’ve been a big player in LED solutions, specializing in point light sources and grid screens. Their “Bean” brand is a household name in the industry, backed by over 80 patents and certifications like ISO9001:2015 and ISO14001:2015. XinHe’s point light sources use premium Epistar and Cree chips, giving you bright, consistent colors that don’t fade fast. They’ve lit up everything from the 2008 Beijing Olympics to modern glass curtain walls around the globe. With a focus on quality and top-notch after-sales support, XinHe’s got your back for any project, big or small.
خاتمة
Figuring out the perfect spacing and density for point light sources on a building isn’t just about crunching numbers. It’s about turning your vision into something real. Think about your building’s size, how far away people will be, and the kind of mood you want to set. That’s how you create a display that’s both stunning and practical. Whether you’re lighting up a skyscraper or a little shop window, getting these details right makes all the difference. Team up with a pro like XinHe Optoelectronics, and you’ve got the tools and expertise to make your project shine bright.
FAQs
How do I pick the right density for point light sources on a building?
It depends on what you’re going for and how far away viewers are. For simple patterns seen from 100 meters, a 6×6 or 8×8 density does the trick. For detailed graphics up close, like 20-50 meters, aim for 12×12 or higher. Set up a small test patch to see what feels right.
Can I change the spacing of point light sources after they’re installed?
It’s tough once they’re up, especially with adhesive or fixed bases. Plan ahead using the spacing formula (1/√density). If you need to tweak things later, talk to your supplier about modular options.
What’s the biggest mistake when calculating spacing and density for point light sources on a building?
Going overboard with too many lights. It drives up costs and can make the display too intense. Use your viewing distance and desired effect to find the right balance.
How does weather affect point light source spacing?
Weather doesn’t mess with spacing directly, but it tests durability. Choose IP67-rated lights, like XinHe’s, to handle rain, frost, or UV rays without a hitch.
Are point light sources energy-efficient for big projects?
Totally. Low-voltage options like DC05/12V and efficient LED chips keep power use low. Smart spacing and density planning cuts waste, giving you a bright display without a huge energy bill.